
The panel’s clamp system includes the following items:
- 2x Clamp Holders
- 2x Clamp Screws
- 2x Clamp Screw Caps
- 2x Clamp Angle Adapter
- 4x M5 15mm Screws
- 2x M5 30mm Screw
- 2x M5 40mm Screw
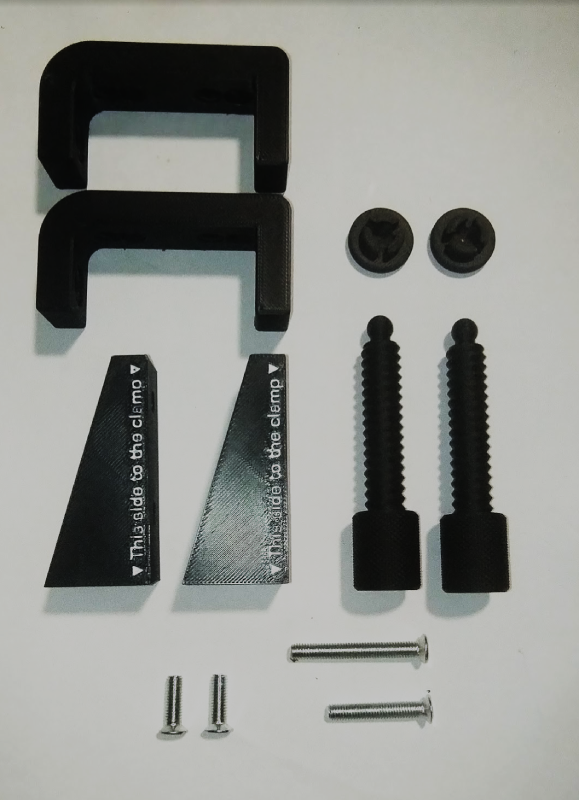
Before attaching the Clamp Screw to the Clamp Holder, you must first attach the Clamp Holder to the panel.
Use the M5 screws for this step. The screw size will depend on whether or not you are using the angle adapter.
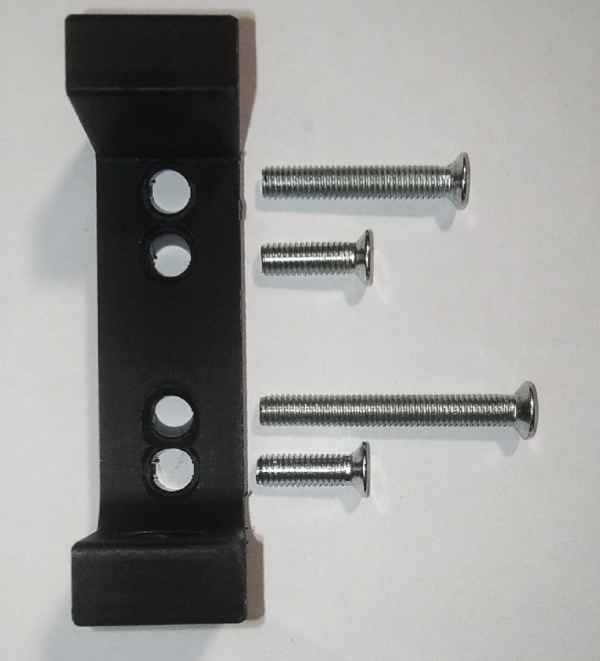
Refer to the diagram below to find the correct hole for each screw. There are two possible configurations:
Without the angle adapter:
- Hole 2 → 1x M5 15mm screw
- Hole 4 → 1x M5 15mm screw
With the angle adapter:
- Hole 1 → 1x M5 30mm screw
- Hole 3 1x M5 45mm screw
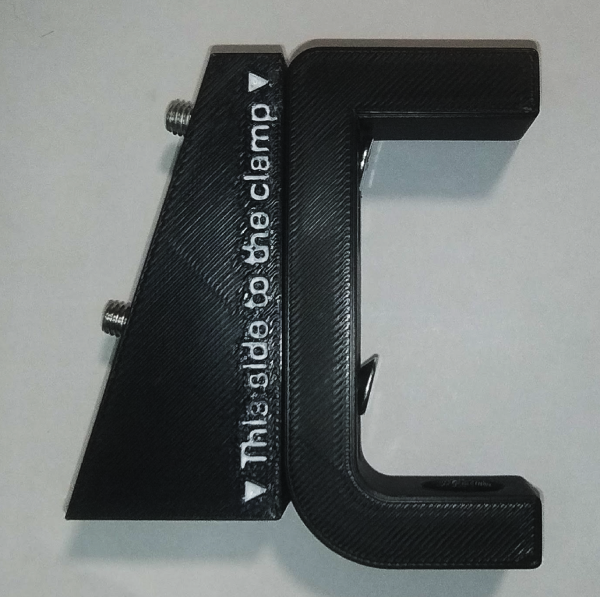
You can use the angle adapter if you want the panel to have a slight tilt when clamped to the table. To install it, attach the angle adapter as shown in the diagram:
When attaching the cap to the screw, the easiest and safest method (to avoid damaging the screw) is to partially screw it in until part of the ball handle is visible. This prevents stress on the ball neck, which is the most fragile part.
To attach the cap, position it perpendicular to the screw so that all pressure is applied directly onto the screw.
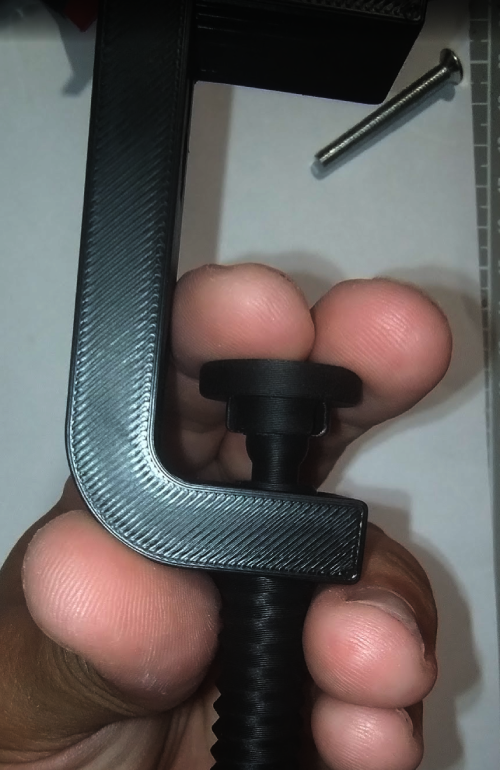
If you need to remove the cap, unscrew it to the same height as when you attached it. Instead of pulling it straight up, gently apply a slight angle and carefully pull it off.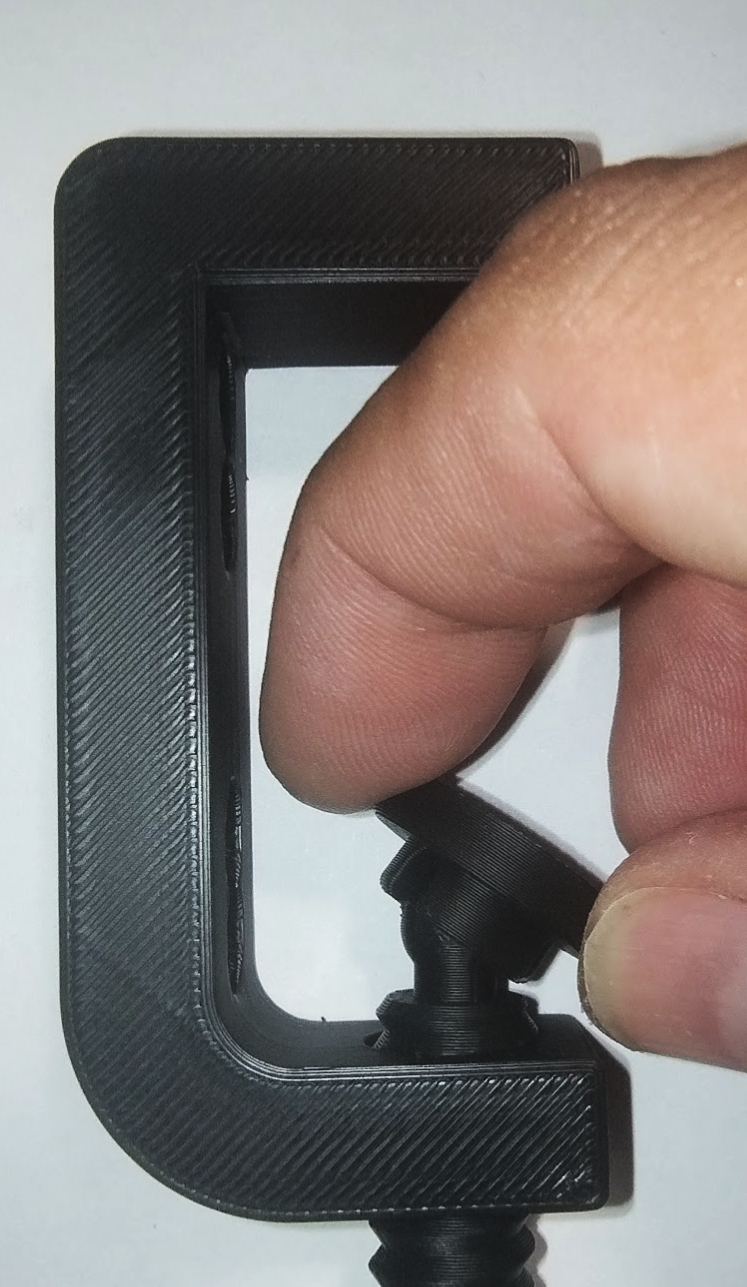
When adjusting the mounts or supports, first align and secure them in position before fully tightening.
Do not overtighten to avoid cracking the support, as it is made from 3D-printed parts.
